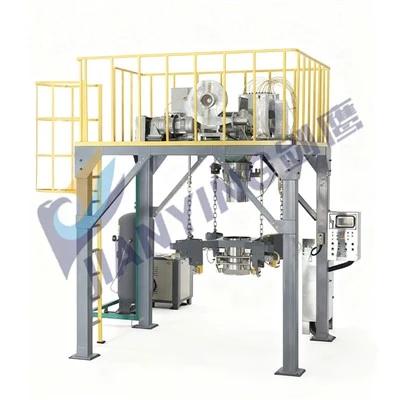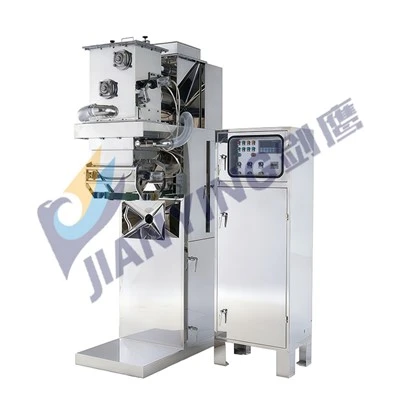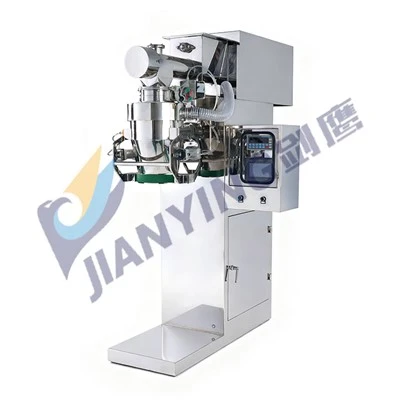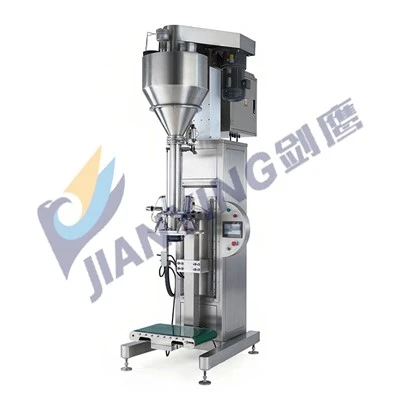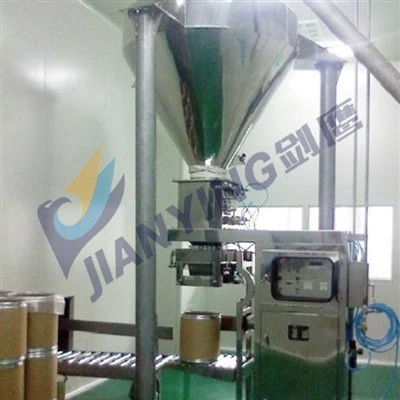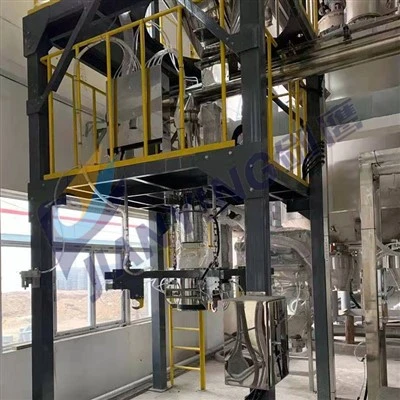
(1) Before operating the automatic granule packaging machine, check that the specifications of the installed measuring cup and bag former match the requirements.
(2) Manually rotate the main motor belt to ensure the machine operates smoothly; only switch on the power and start the machine after confirming there are no abnormalities.
(3) Load the packaging material between the two paper-retaining wheels and place it into the slots on the machine's paper-holding arm. The retaining wheels should clamp the material's core securely, aligning the packaging material with the bag former; then, tighten the knob on the retaining collar, ensuring the printed side faces forward or the composite side (i.e., the polyethylene side) faces backward. After starting the machine, adjust the axial position of the packaging material on the holding wheels based on the paper feed to ensure smooth feeding.
(4) Turn on the main power switch of the automatic granule packaging machine, press down the clutch handle to disengage the metering mechanism from the main drive, and then turn on the start switch to run the machine without load.
(5) If the conveyor belt rotates clockwise, stop the machine immediately; this indicates the main motor is rotating in reverse. Reverse the motor phase to ensure the belt rotates counter-clockwise.
(6) Set the temperature: configure the heat-sealing temperature on the temperature controller in the electrical control box according to the packaging material being used.
(7) Adjust the bag length: thread the packaging material into the bag former according to specifications and clamp it between the two rollers. Rotate the rollers to pull the material below the cutter. After the set temperature has been maintained for two minutes, turn on the start switch. Loosen the locking nut on the bag length adjustment screw and turn the adjustment knob-clockwise to shorten the bag length and counter-clockwise to lengthen it-then tighten the nut once the desired length is achieved.
(8) Determine the cutter position: once the bag length is set, move the cutter aside and turn on the start switch to seal several bags continuously. Stop the machine immediately at the moment the heat sealer opens but before the rollers pull the bag forward. Next, first move the left cutter so that its edge aligns with the center of a transverse seal corresponding to an integer multiple of the bag length (typically 2–3 times the bag length), ensuring the blade is perpendicular to the direction of the paper feed; tighten the left cutter's fastening screw. Then, position the right cutter against the left one, keeping them level and aligning the blade tips; lightly tighten the front fastening screw of the right cutter. Press down on the rear of the right cutter to create pressure between the two blades, then tighten the rear fastening screw. Insert the packaging material between the blades and lightly tap the front of the right cutter downward to check if it cuts the material; if not, continue adjusting until it cuts cleanly, then fully tighten the front screw.
(9) When the machine is stopped, the heat sealer must be left in the open position to prevent burning the packaging material and to extend the service life of the heat sealer.
(10) Do not rotate the metering disk clockwise. Before starting the machine, check that all discharge gates are closed (except for those intended to remain open); failure to do so may damage components.
(11) Metering adjustment: If the metered weight of the packaging material is less than the required weight, slightly rotate the metering disk's adjustment ring clockwise to achieve the target weight; if the weight exceeds the requirement, adjust in the opposite direction.
(12) Once the filling operation runs smoothly without anomalies, the machine is ready for normal operation; turn on the counter switch to enable counting, and finally, install the protective cover.